
12 Jan Venom Ravencroft Installation Instructions
Thank you for purchasing FlipMods’ Venom Pinball Ravencroft mod! Installation should take between 1-3 hours and requires a medium & small Phillips head screwdriver and your pinball nut driver set. Long screwdrivers and playfield jacks (or a way to prop up the back of the playfield) help a lot.
A HUGE thanks to Andy from Rocket City Pinball for putting together this amazing installation video.
The following writeup is how I have been installing this mod throughout the duration of designing and building it. You may find a different way is better for you which is fine, there’s usually more than one way to do something in pinball!
First things first, as always shut off your game, remove the glass and all balls.
- Now, let’s remove the Carnage ramp. Lift the playfield and locate this nut directly below Carnage and unscrew it. Also unplug the marked harness.

- Lower the playfield so we can work on the top for a bit. Remove this screw behind the stock Ravencroft house plastic. A magnetic screwdriver is helpful. We will reuse this screw later so hang onto it.

- Unscrew the 2 small Phillips head screws holding the Ravencroft arch plastic. Put these screws aside, they will be used again. If you purchased only the arch, continue to step 14.

- Disconnect the 3 wire harnesses behind the playfield that connect the Carnage bash toy ramp.


- Be mindful of the spring below the playfield that controls the carnage ramp movement. It may be helpful to tape it to the coil mount or coil to help keep it in place. Not necessary, but may help.


- You’re ready to remove the carnage ramp. It pulls up off of the playfield. It will take a little elbow grease, but it will pull up and off. I have been pulling up from the rear of the ramp as well as near the captive wall as see in the picture below.

Be mindful of the wire harness that you disconnected below the playfield that will pull up through the playfield, as well as the harnesses in the back and the linkage on the bottom of the carnage ramp.
- Once the carnage ramp is off, put it down somewhere so we can remove a few nuts from it. Starting on the left side (pic 1), remove the 2 nuts then remove the bracket holding the original left gate. This bracket and gate is staying off, you can put it away. I put the nuts back on the side of the ramp even though they don’t do anything anymore. On the right side, remove the 3 marked nuts and marked spacers (pics 2) so that we can remove the right side bracket and gate. We will be replacing the large and small white spacers from the middle screw marked in the 4th picture below with the included spacer in the Ravencroft mod kit (3rd picture below). We won’t be using the 2 stock spacers anymore, so you can put them away as well. You do need to reinstall the stock spacer on the right screw (4th pic, yellow arrow). Reinstall the nuts on this side.


- It’s time to remove the main Ravencroft house now. You only need to remove the marked screws below to remove the plastic from the playfield. *NOTE* There are plastic spacers behind the Ravencroft house plastic. It’s okay if they drop onto the playfield while unscrewing. We will not be reusing these spacers but we will be reusing these long black screws.

- Now that the Ravencroft house is removed, let’s remove the LED boards and attach them to the new Ravencroft mod. We will not be removing the metal brackets behind the house since the mod has them built in. Loosen the nuts marked below. You will need to hold the screw on the front in place with a Phillips head screwdriver. We will not be reusing these nuts and screws.

- Next, attach the LED boards to the back of the new Ravencroft house using the supplied screws and nuts, not the stock ones. You will notice a “2R” and “1R” marking on the back of the house, this indicates which board to install. The “2R” indicates 2 red wires on the board while the “1R” indicates 1 red wire on the board, as seen below.

- It’s now time to attach the new Ravencroft house to the playfield using the long screws from step 8. As mentioned, instead of reusing the spacers from step 8, the back of the house has them built in. Insert the long screws into the holes that have the long spacers around them before you put the new house in place, especially the screw behind the front gate (as shown in the picture below). This will make it easier to install the new house.

- Let’s install the new house to the backboard, but first we need to route the wires through. The smaller fence of the Ravencroft (on the left side) wiring should be routed through the large opening, near the post holding the screw that you unscrewed in step 2. The larger fence of the Ravencroft house (on the right side) should be routed as seen in the 2nd picture below. There is a small opening in the metal plate in the backboard that you can run the wire through, but make sure it stays above the opto. Once the wires are safely through, you may screw the new Ravencroft house into the backbox.
")


- It’s time to install the carnage ramp we removed back in step 6. Make sure to route the wire harness in the front of the ramp under the playfield before securing the ramp in place. Also, remember when I said to be mindful of the spring back in step 5? Now is when we need to install the spring properly over the plunger, under the playfield.
Once you know the plunger and spring are secure and the plunger is inside the coil, you can reinstall the nut under the playfield that you removed in step 1 and the screw in step 2.
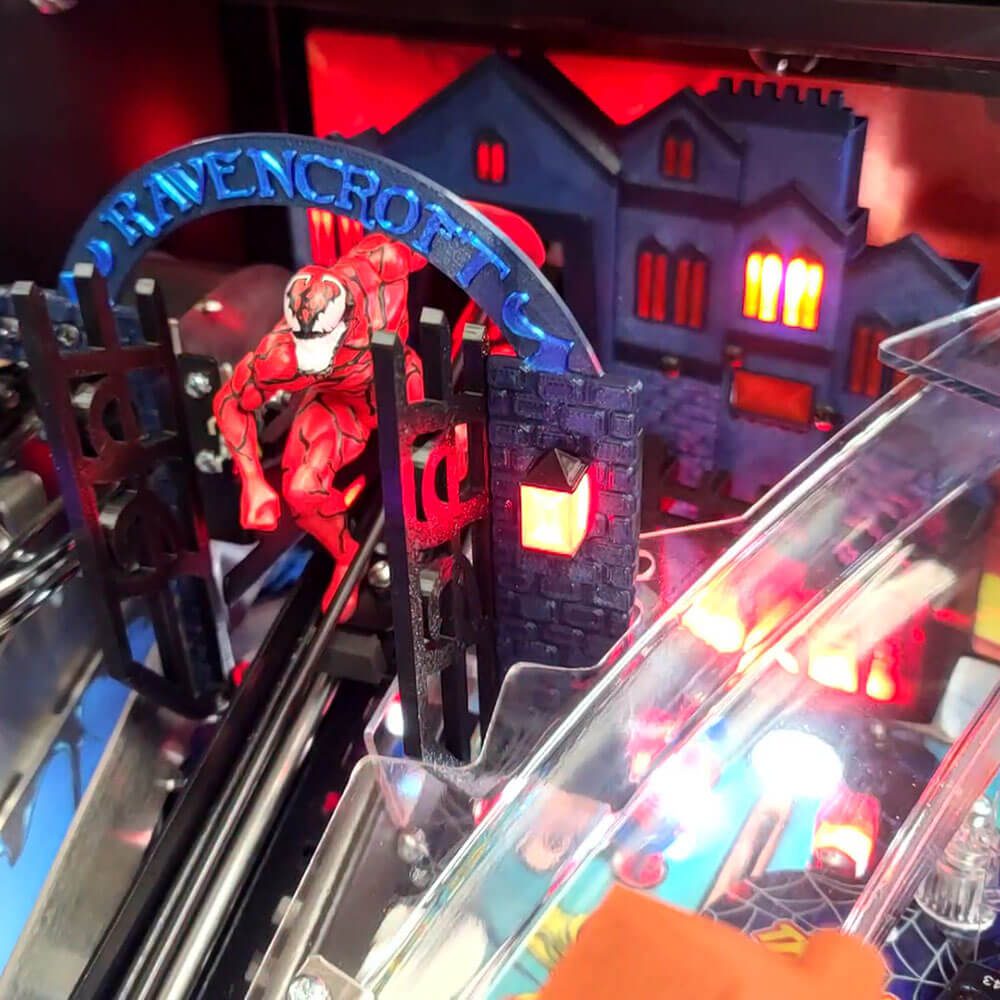
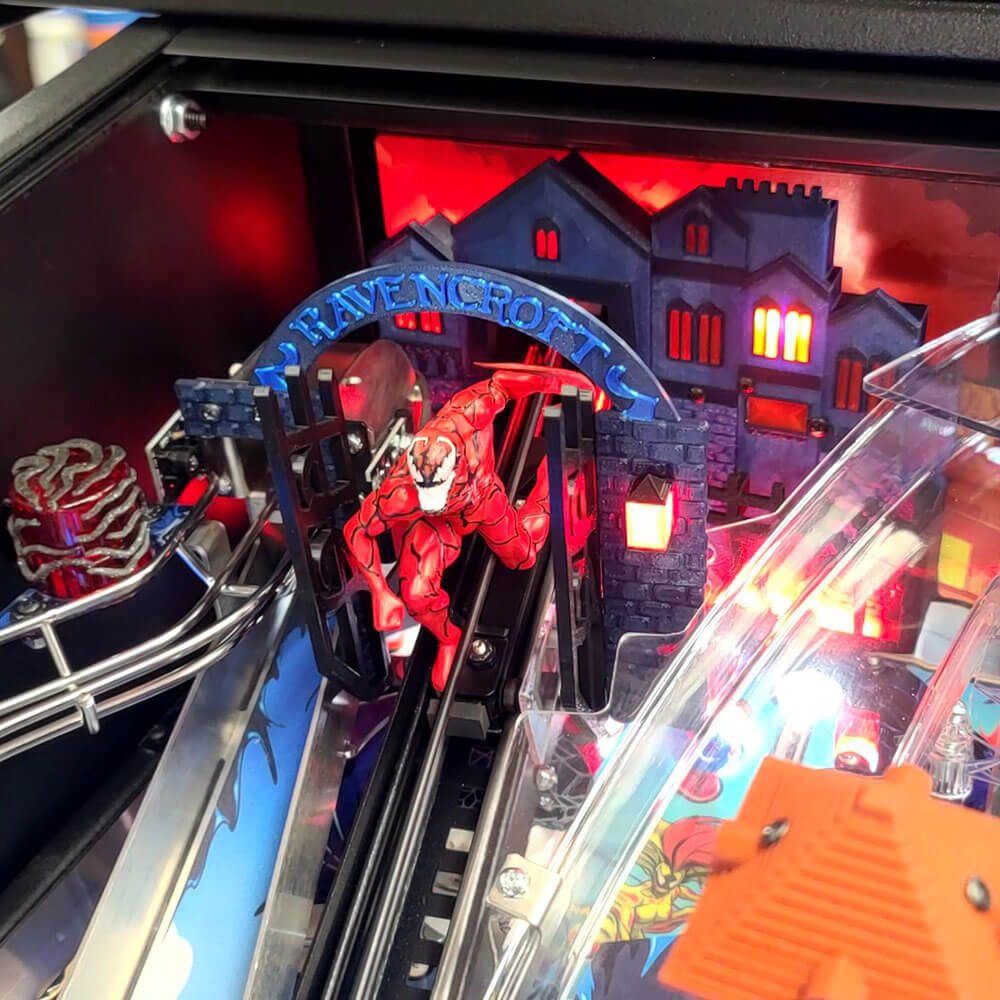
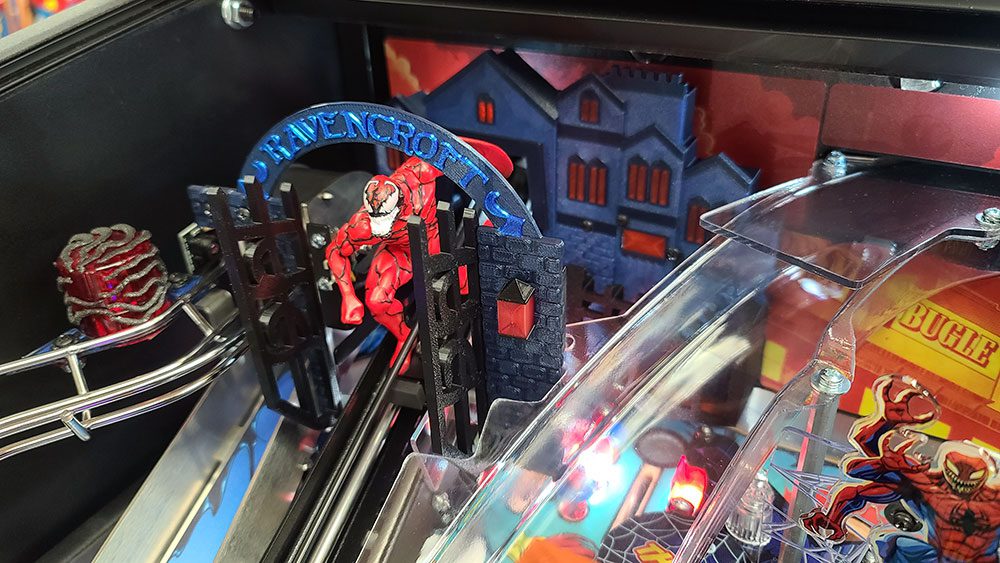
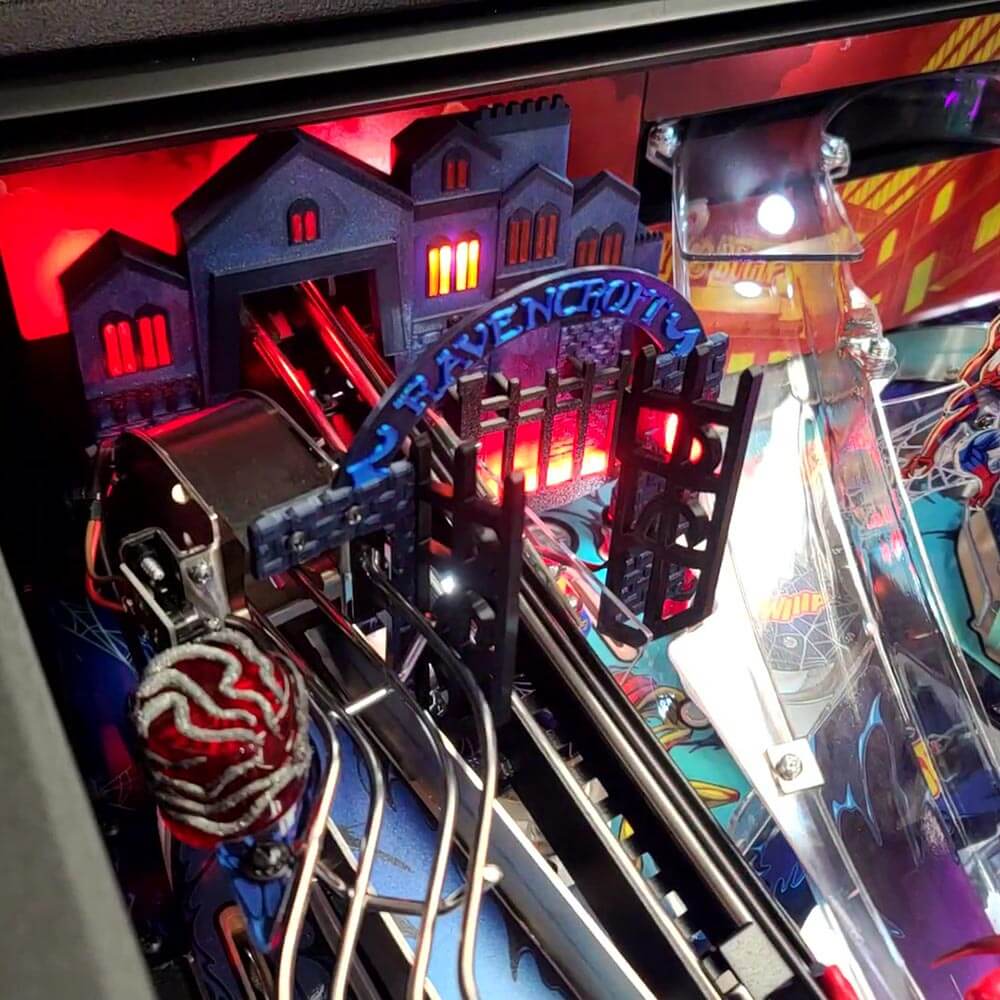
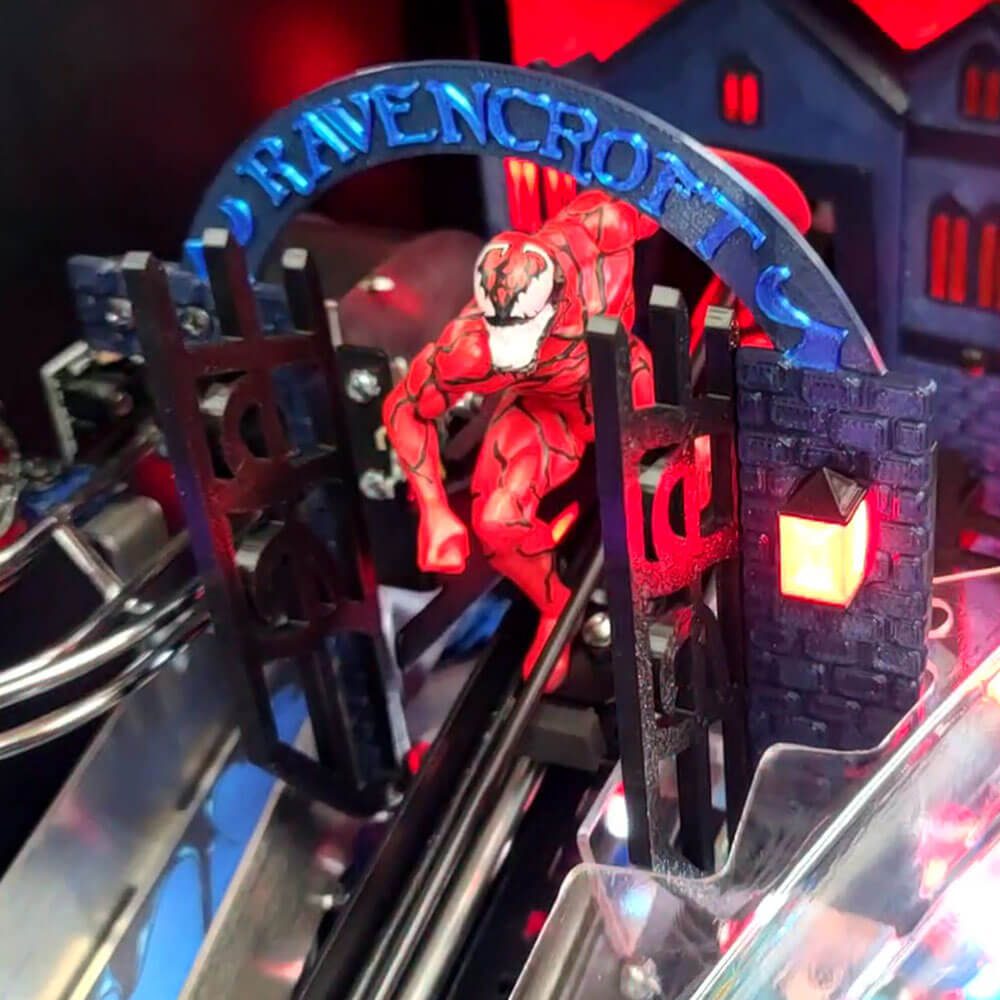
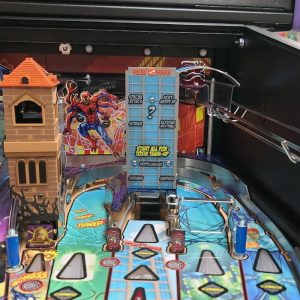
- Install the new archway where we removed the stock one, using the 2 small stock black screws, then run the wire next to the Carnage ramp opto wiring, as seen in the 2nd picture below. When installing the archway, try to push it toward the middle of the playfield as much as possible, then tighten the screws. This way everything has clearance and rests where it should.
Those sweet Symbiote flasher covers you see are made by Rocket City Pinball and can be purchased here.


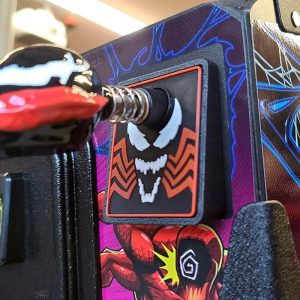
- Now that all the wiring is routed, let’s get it all connected. First, let’s use the 2nd red light in the backboard (3rd light total) to power everything by connecting the included alligator clips to it as shown in the pictures below. *NOTE* This bulb is not a regular GI bulb. After that, connect all the lighting to the 3-way splitter and connect the 3-way splitter to the end of the alligator clips you just installed.


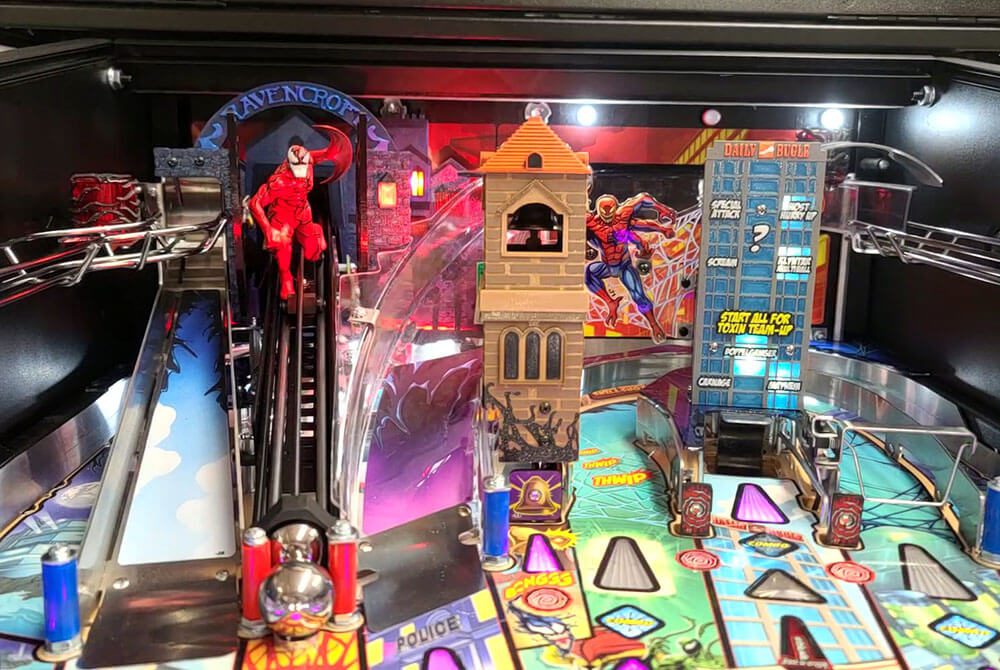
That’s it! You successfully installed your Venom pinball Ravencroft mod by FlipMods! Test everything out and make sure it’s all working and as always, go get a high score!
Still don’t have your Venom Ravencroft mod? Purchase below!

Venom Ravencroft Mod
$150.00
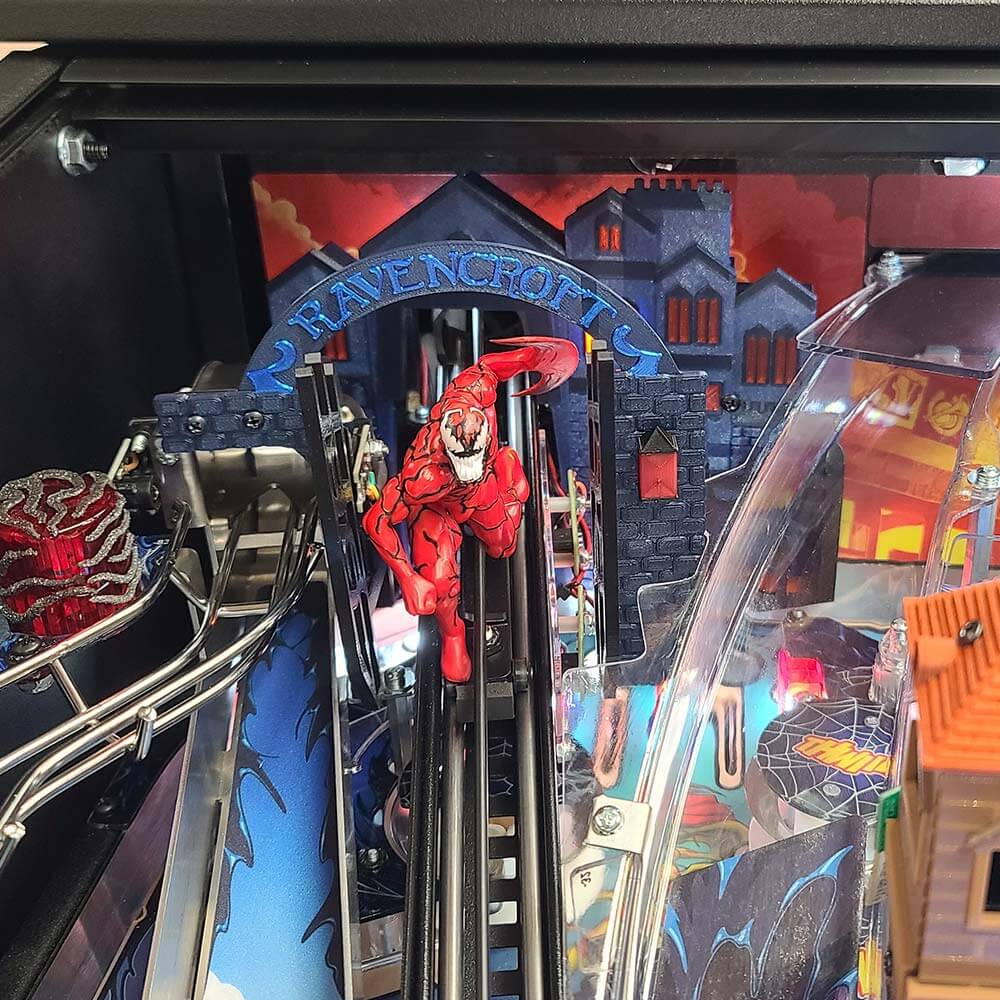
Unleash the symbiote within! Replace the lifeless Ravencroft plastics with this interactive illuminated, 3D Ravencroft mod! This multi-part mod features 16 LED’s shining through translucent red windows on the house, gate and lantern for maximum gameplay effects. Transform the iconic Ravencroft Institute into a dynamic, light-infused centerpiece for your Venom pinball machine. Aside from looking great, this mod adds another dimension of fun to bashing that carnage captive ball! Includes house, arch + everything needed to install and illuminate.
Description
We are currently out of stock but plan on making more and will make more once you order. Please allow a few weeks!
Installation Instructions
Installation Instructions
Click here for installation instructions for the Ravencroft mod.
Reviews (0)
You must be logged in to post a review.
Reviews
There are no reviews yet.